All of BuildCentral's products offer a "Save Search" feature that allows users, well, to save a given project search for future use. It's about as straightforward as it sounds, but here we're going to make sure that you can take full advantage of our unique product features, and that starts with our first How-To installment in BuildCentral Saved Searches.
Let's start with a use case. Say you want to keep tabs on planned Amazon retail construction projects, because a lot of people do. For this search, as you likely know, Planned Retail is where you'll want to be.
If you think you'd benefit from an introduction (or a refresher), feel free to check out our Introduction to BuildCentral project search article.
Skip to:
- Step 1: Know what you want
- Step 2: Select desired retail chains
- Step 3: Which construction stages matter to you?
- Step 4: Start scouring and refining
- Step 5: Don't forget to save
- Step 6: Set your alert delivery preferences
- Extra Help: Editing and deactivating a Saved Search
Alternatively, check out this video walkthrough:
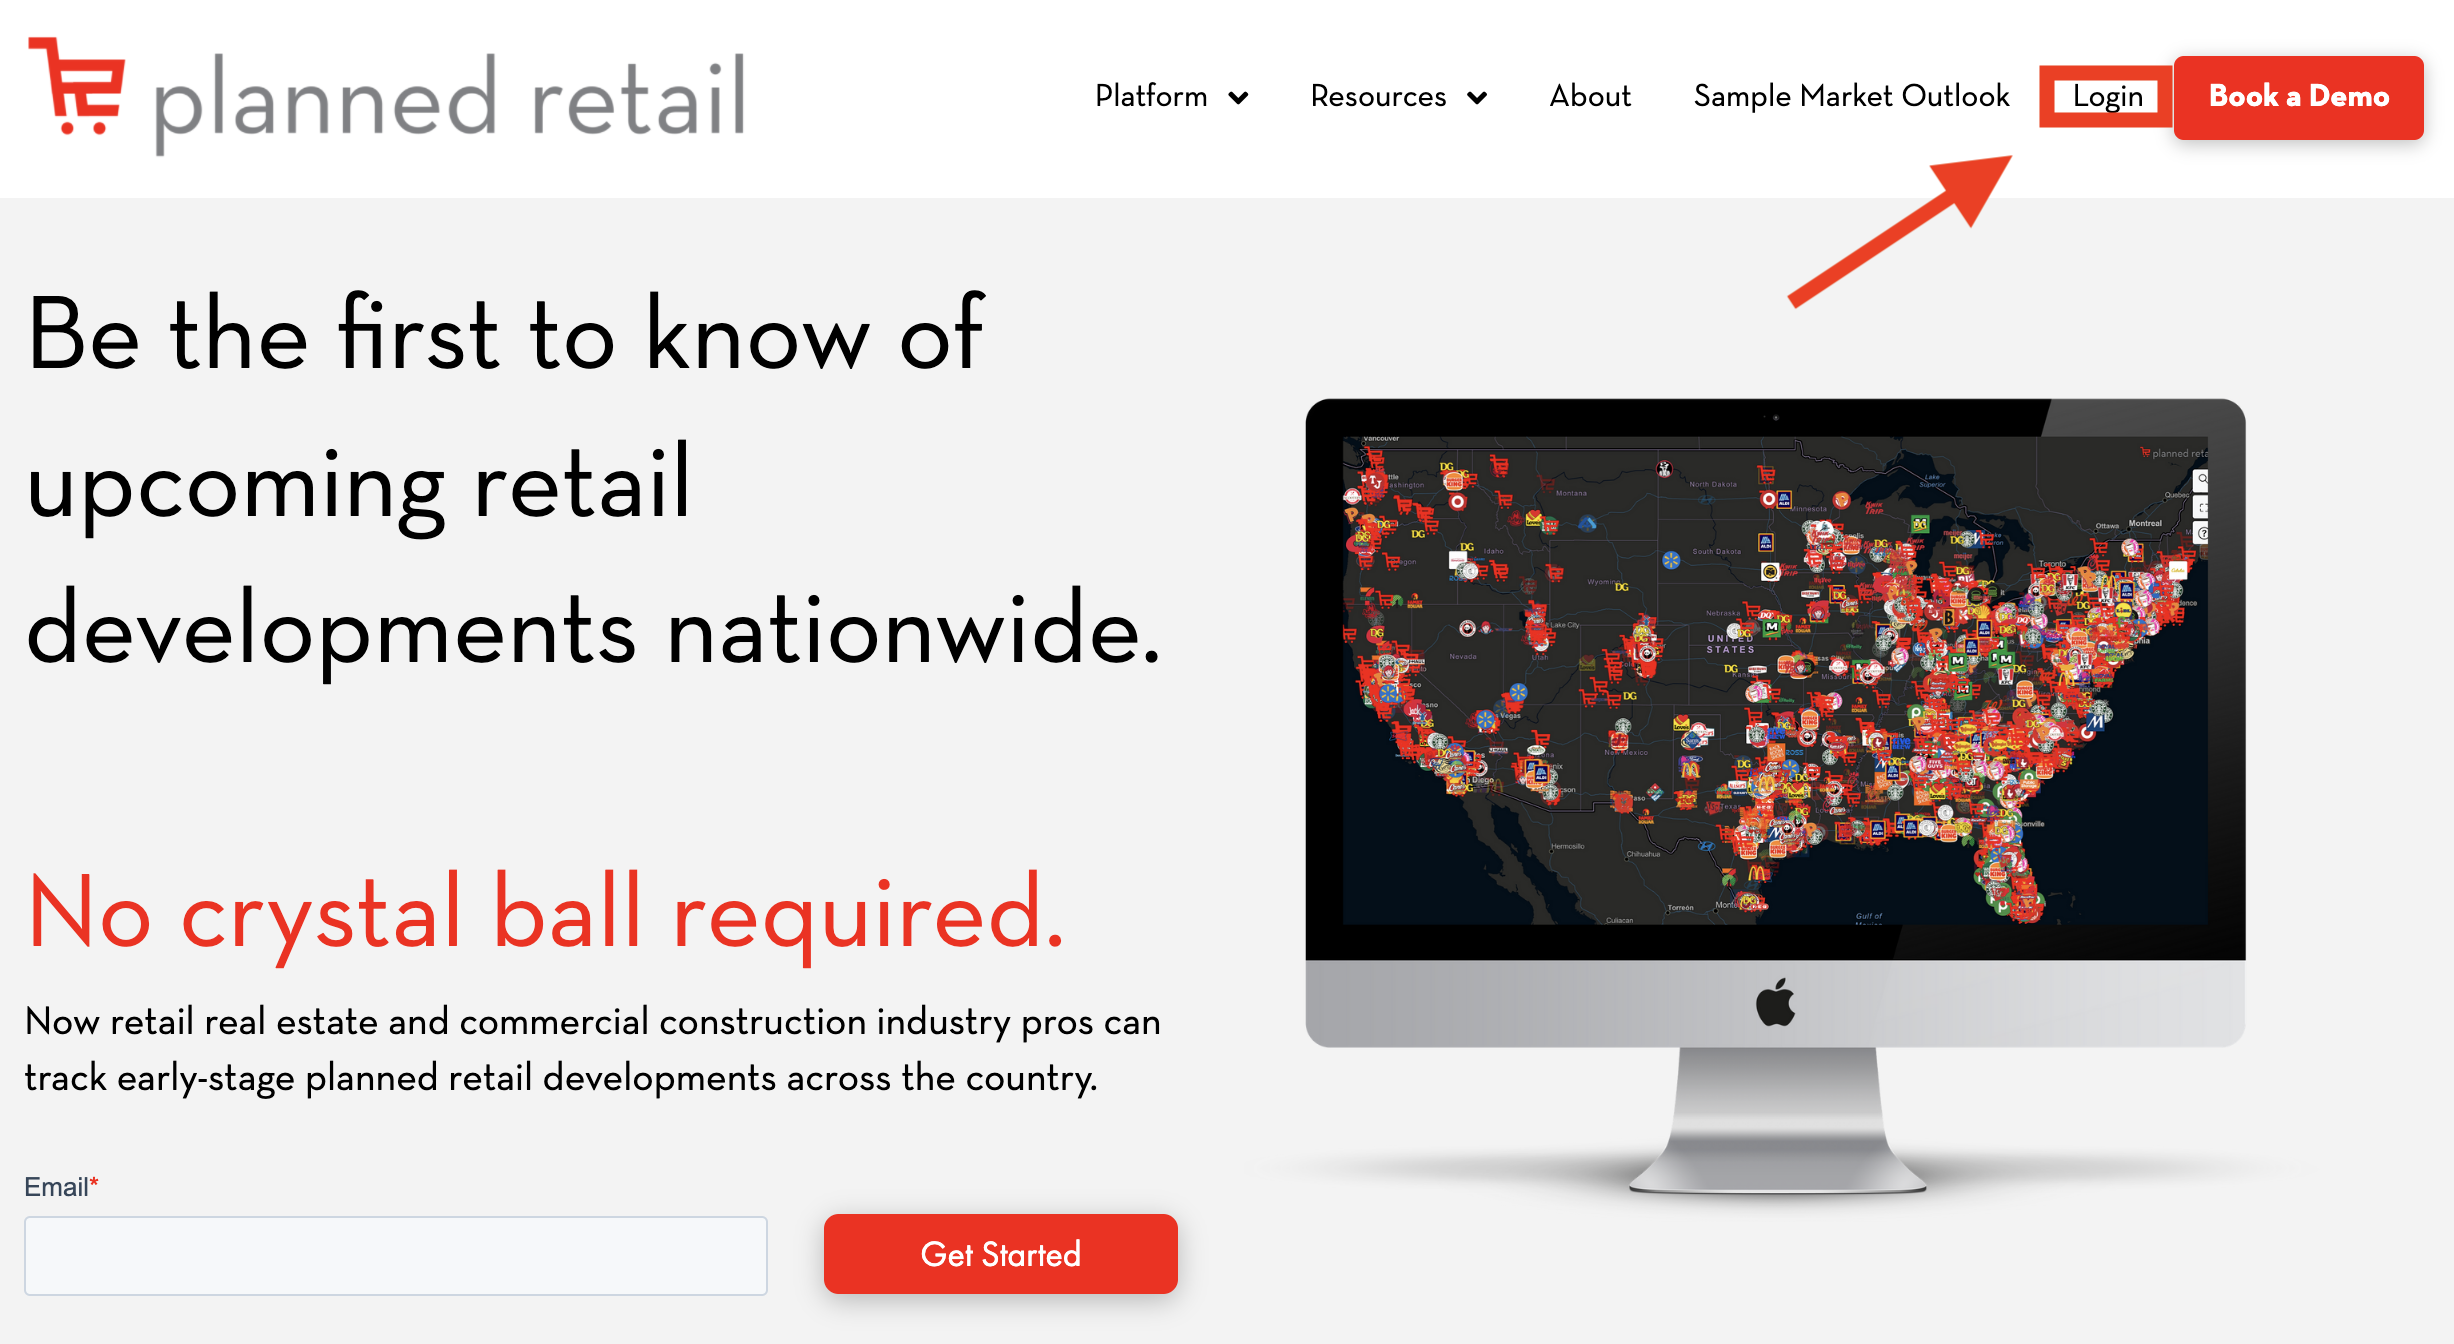
When you arrive at the Planned Retail site, locate and click Login in the upper right-hand corner.
Once you've done so, enter your login credentials, and you'll wind up at our product homepage. Make sure to toggle over to Planned Retail, where your search dashboard should look like this one.
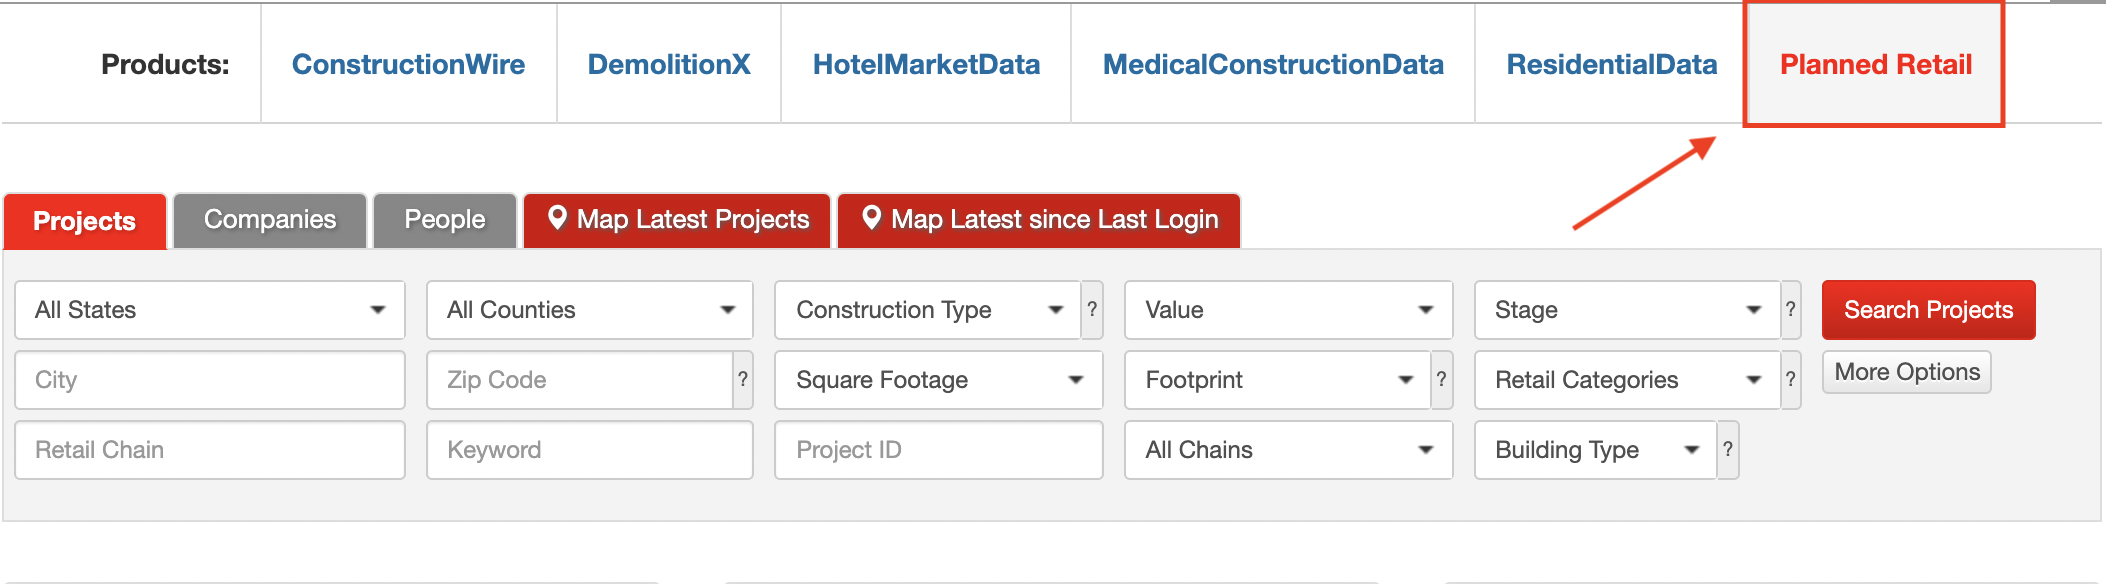
When a BuildCentral product is selected, its name appears in red, as does the Planned Retail name here.
Step 1: Know what you want
Now, we're going to make a saved search for planned Amazon retail construction projects, but we want to make sure our dataset is fresh and reliable. So, we recommend that you click on the More Options button below the Search Projects icon. That way, you can limit your search to include only projects added or updated within a certain range. For the purposes of this walkthrough, let's go with projects with updates from within the last 90 days.
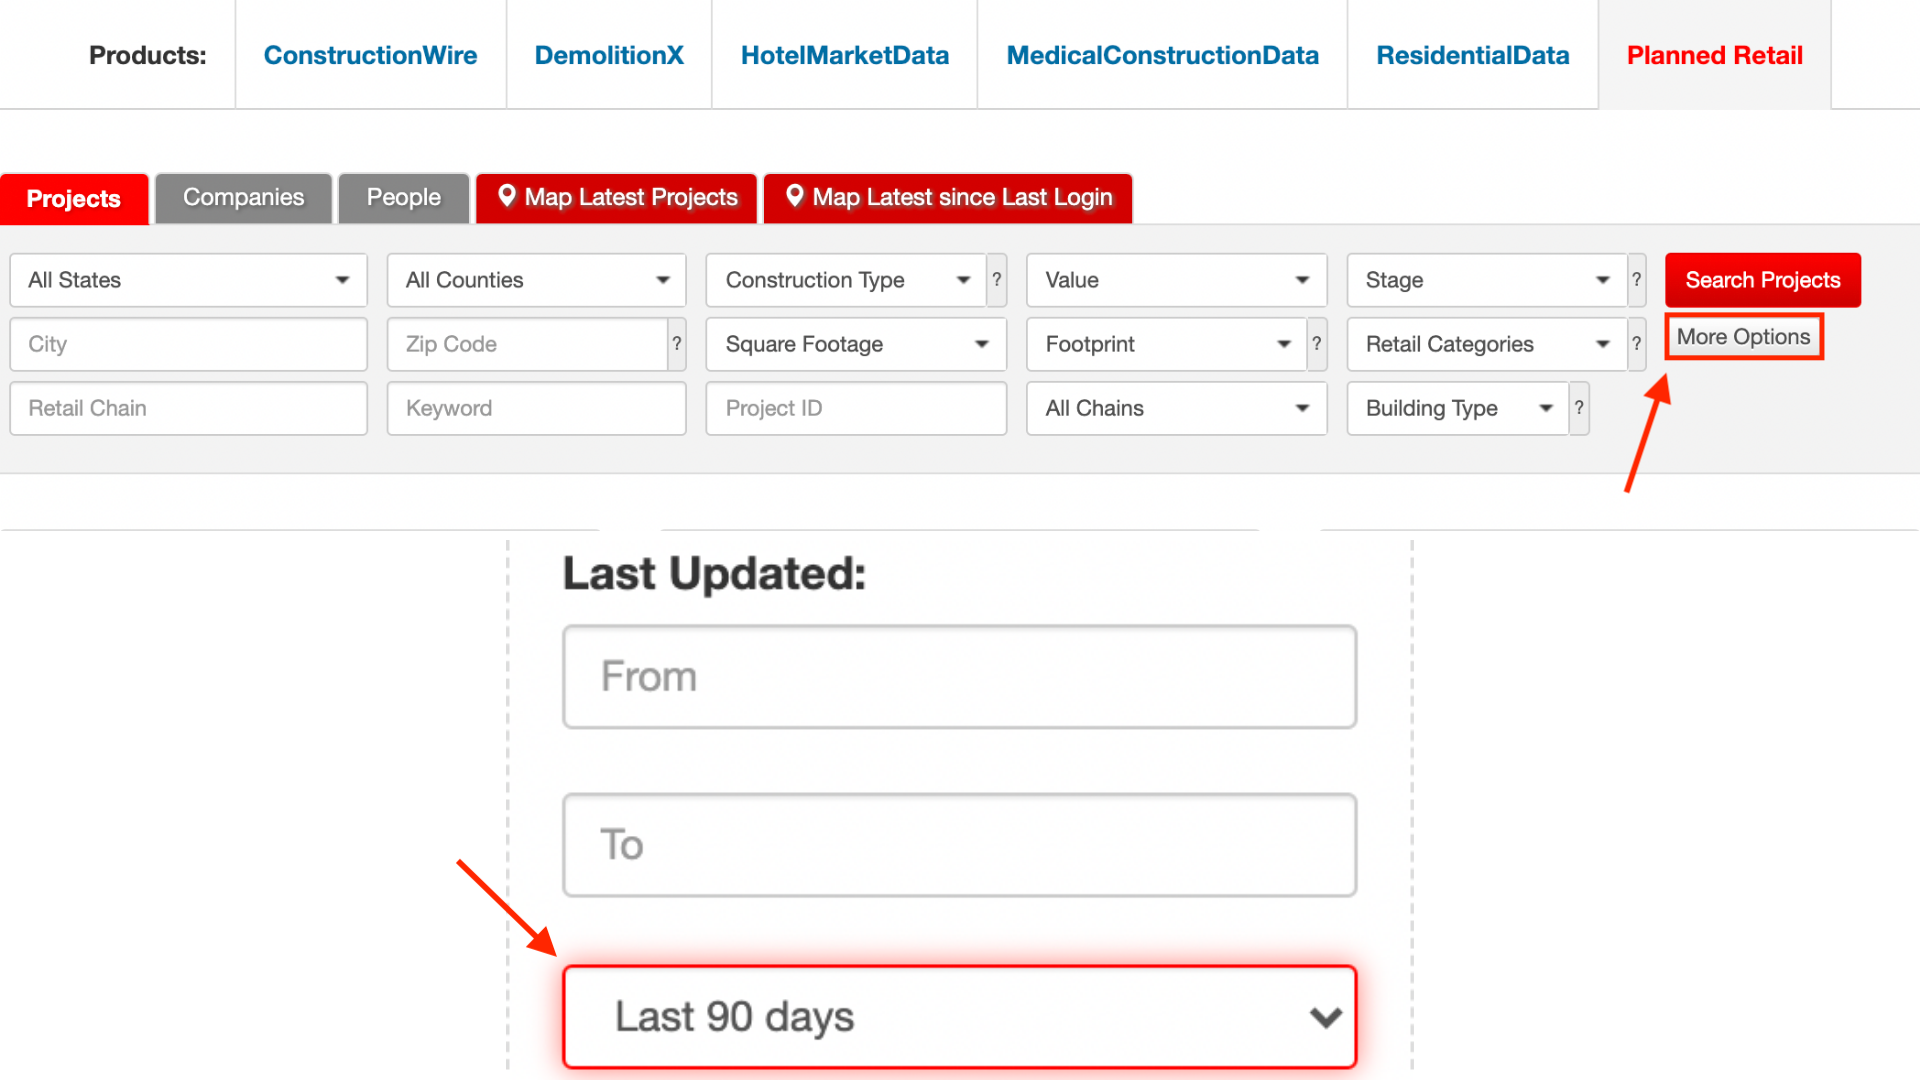
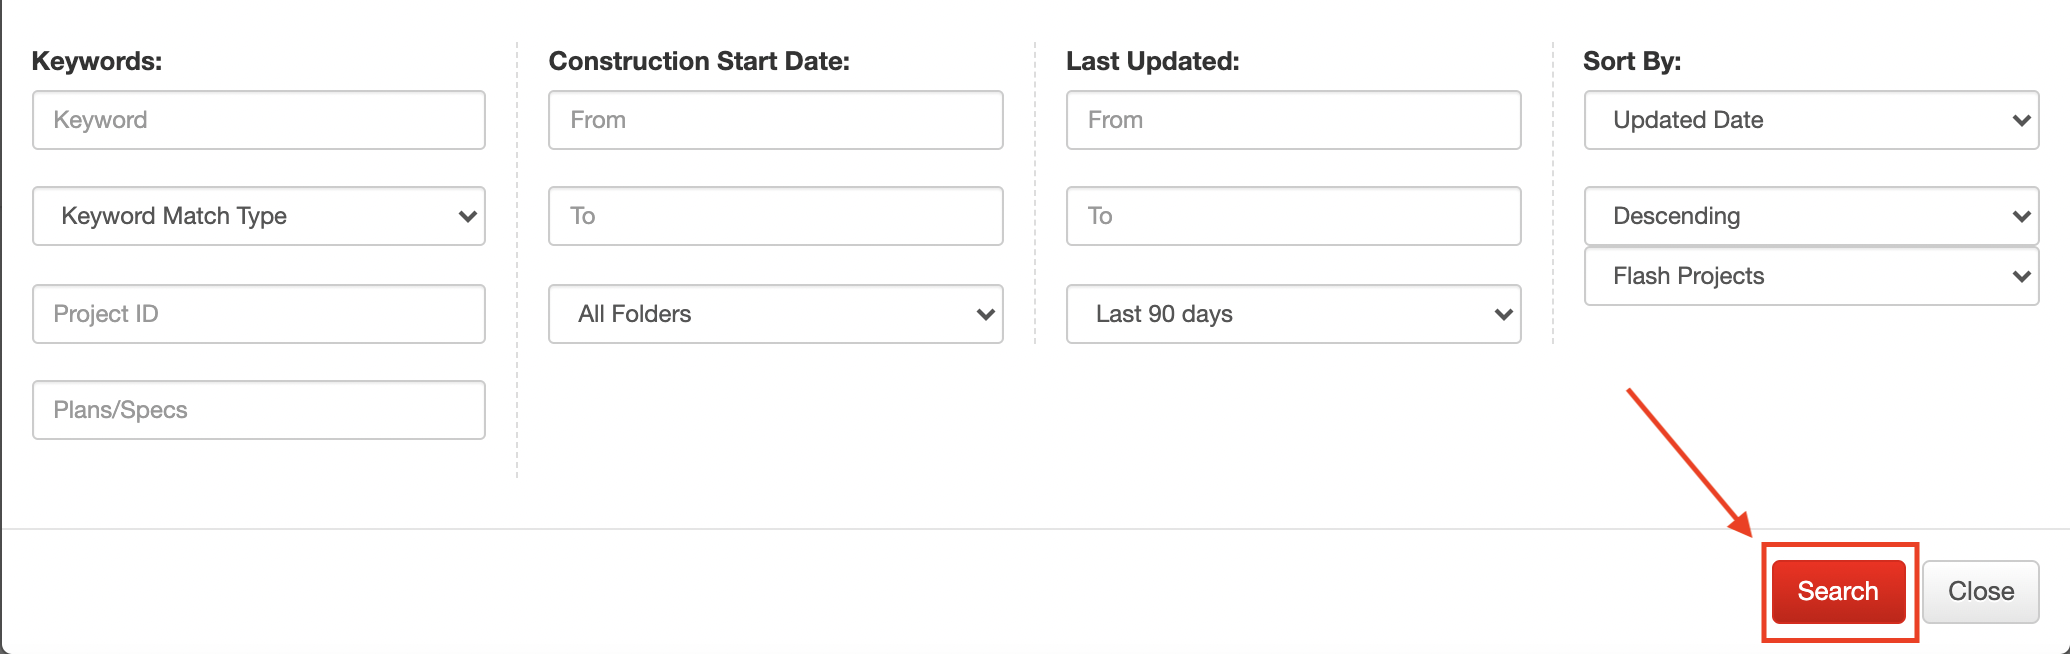
The Last Updated selection area will appear toward the center-bottom of the More Options pop-up window.
Step 2: Select desired retail chains
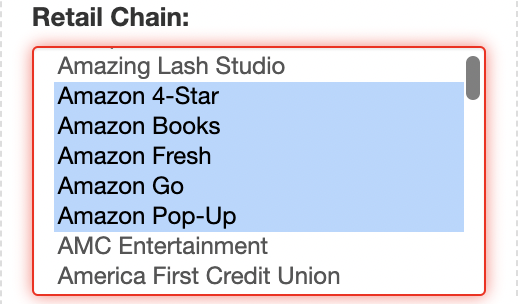
Then, because we're interested in tracking Amazon retail locations, navigate to the Retail Chains selection box and choose the chains you want to follow. Depending on whether or not you're using a PC or a Mac, you'll want to hold down CTRL or CMD to select multiple chains.
For this Amazon retail saved search, we also selected Whole Foods Market from the list of retail chains.
Step 3: Which construction stages matter to you?
It's at this point that we get to make a lot of choices. We're primarily concerned with planned Amazon retail projects, but we want to see those projects that are currently underway as well. So, here's how we set up our construction Stage filters on the right side of the More Options pop-up window.
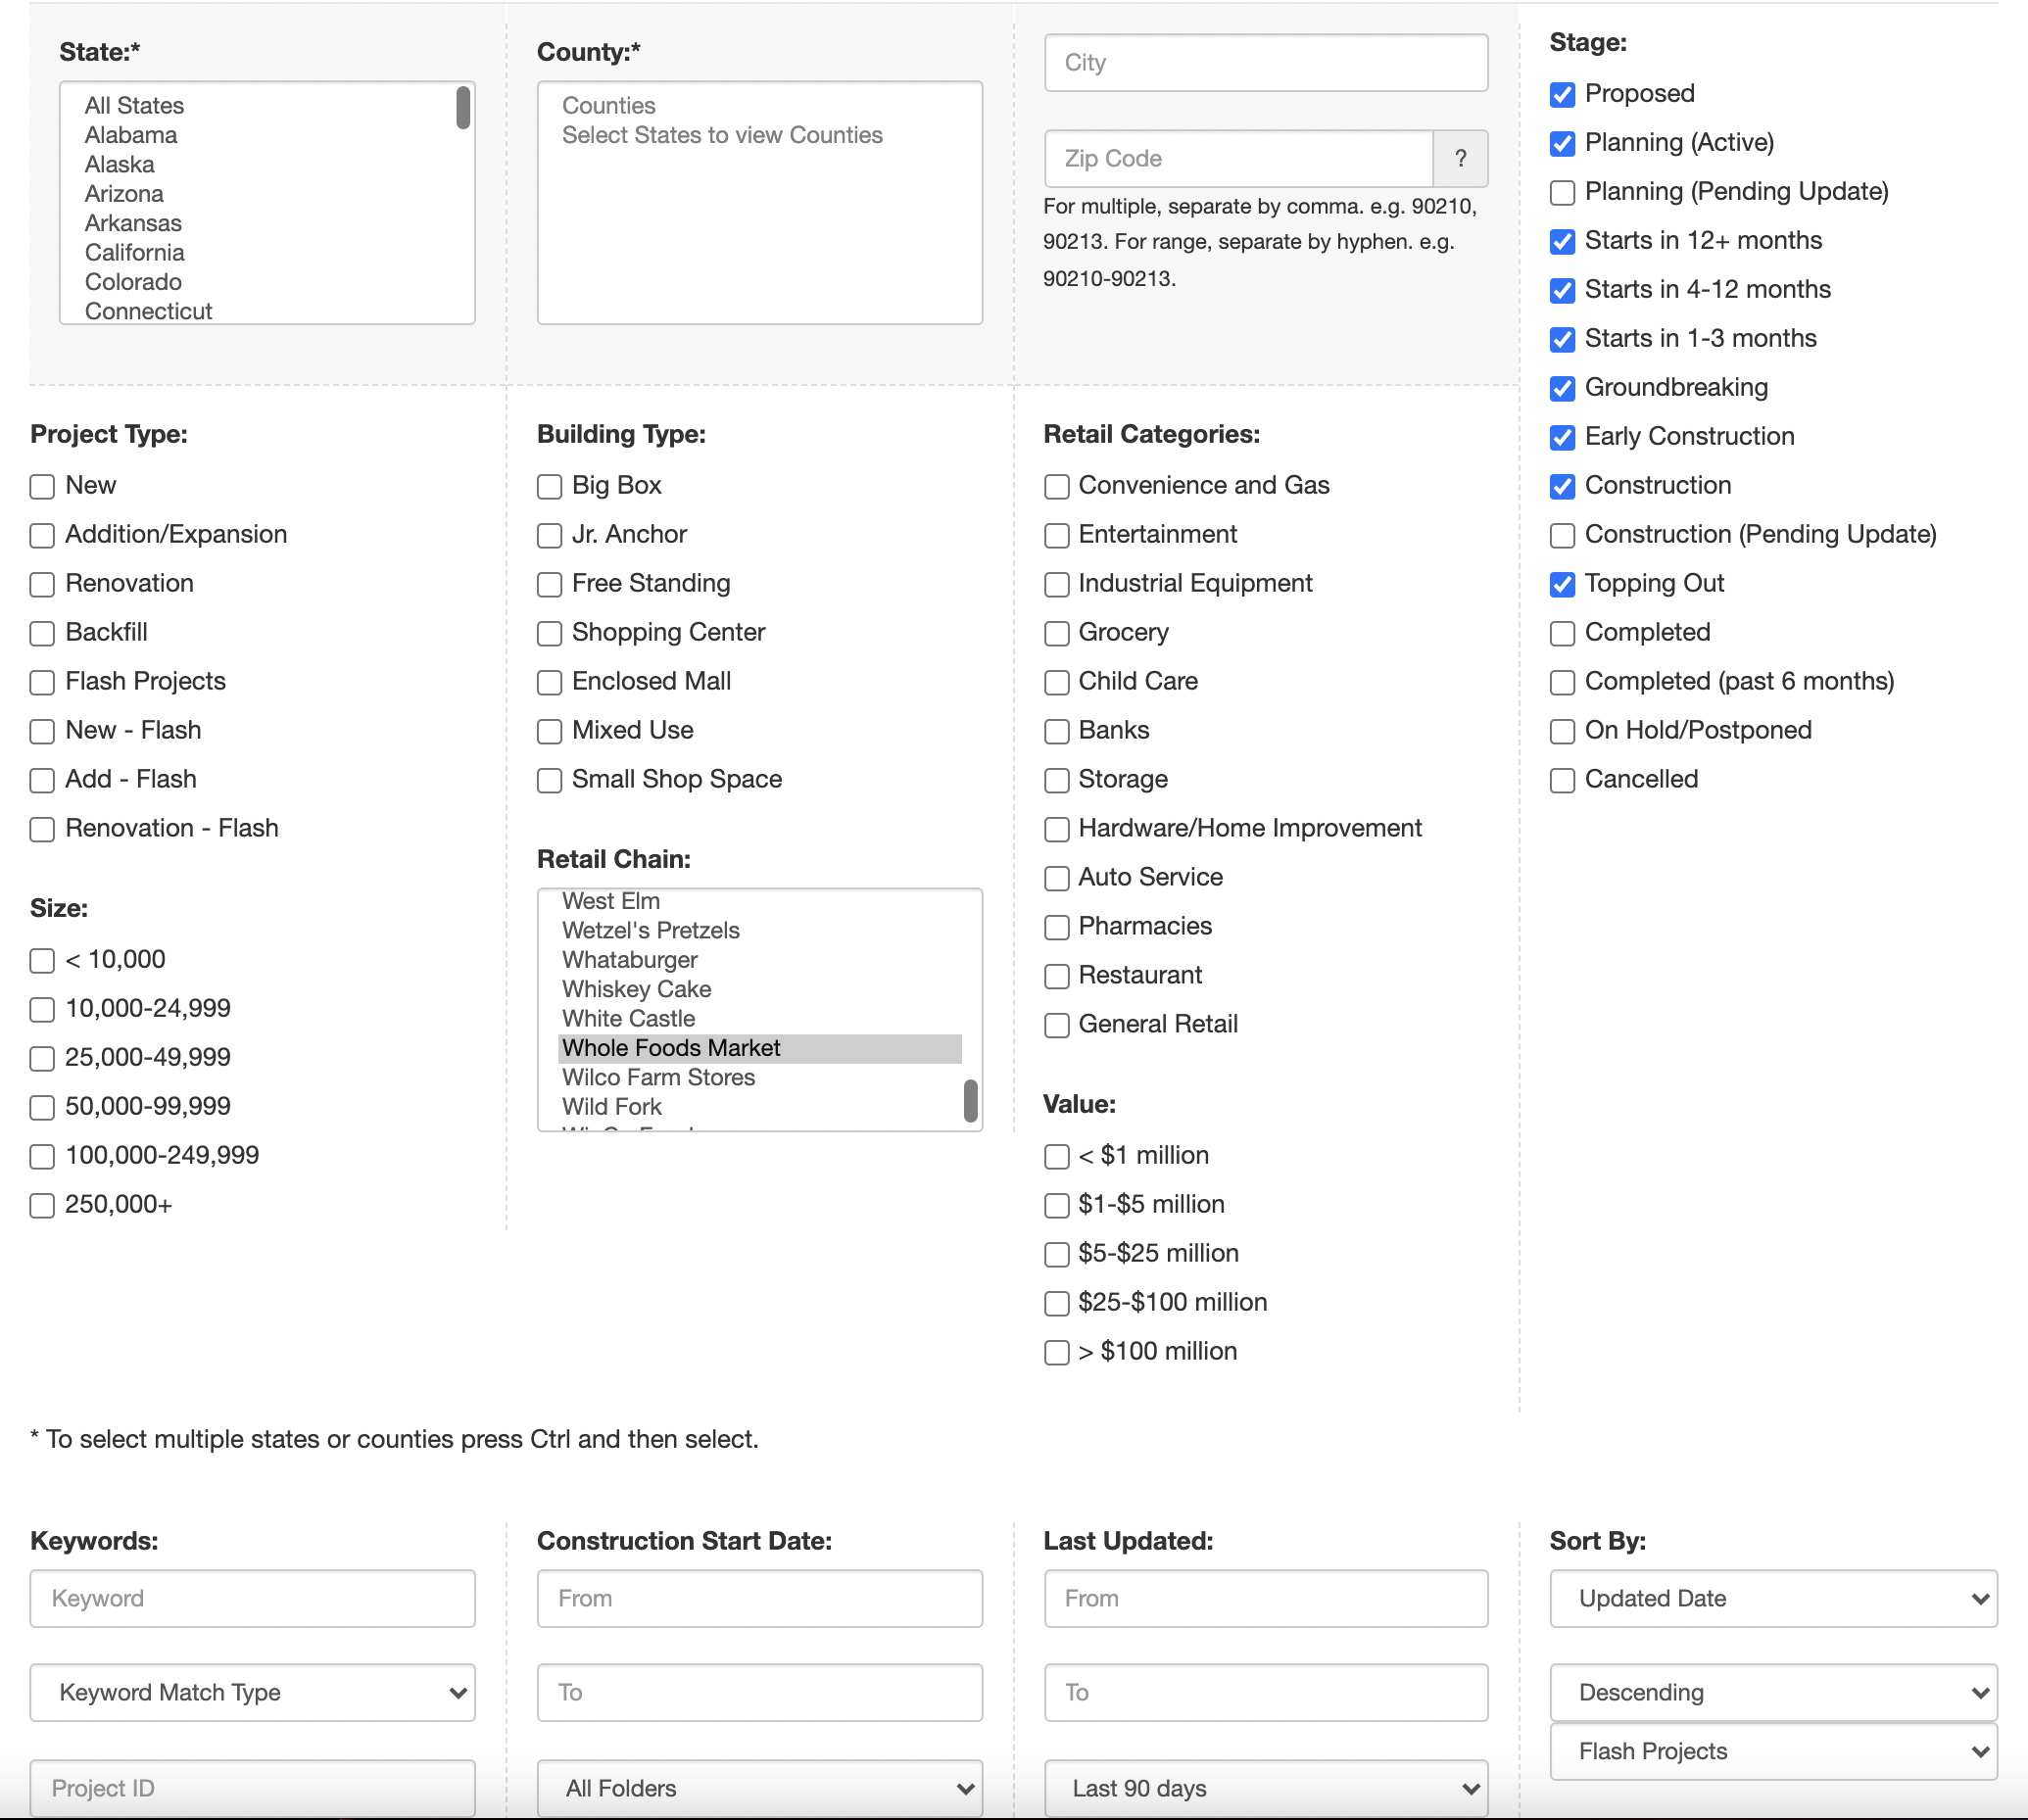
Your More Options window should look like this one.[/caption]
As you can see, this search doesn't even take advantage of all of the filtering options that BuildCentral project searches have to offer. Although we only specify chain, construction stage, and last-updated date, users have many more options.
Step 4: Start scouring and refining
Now, execute your search!
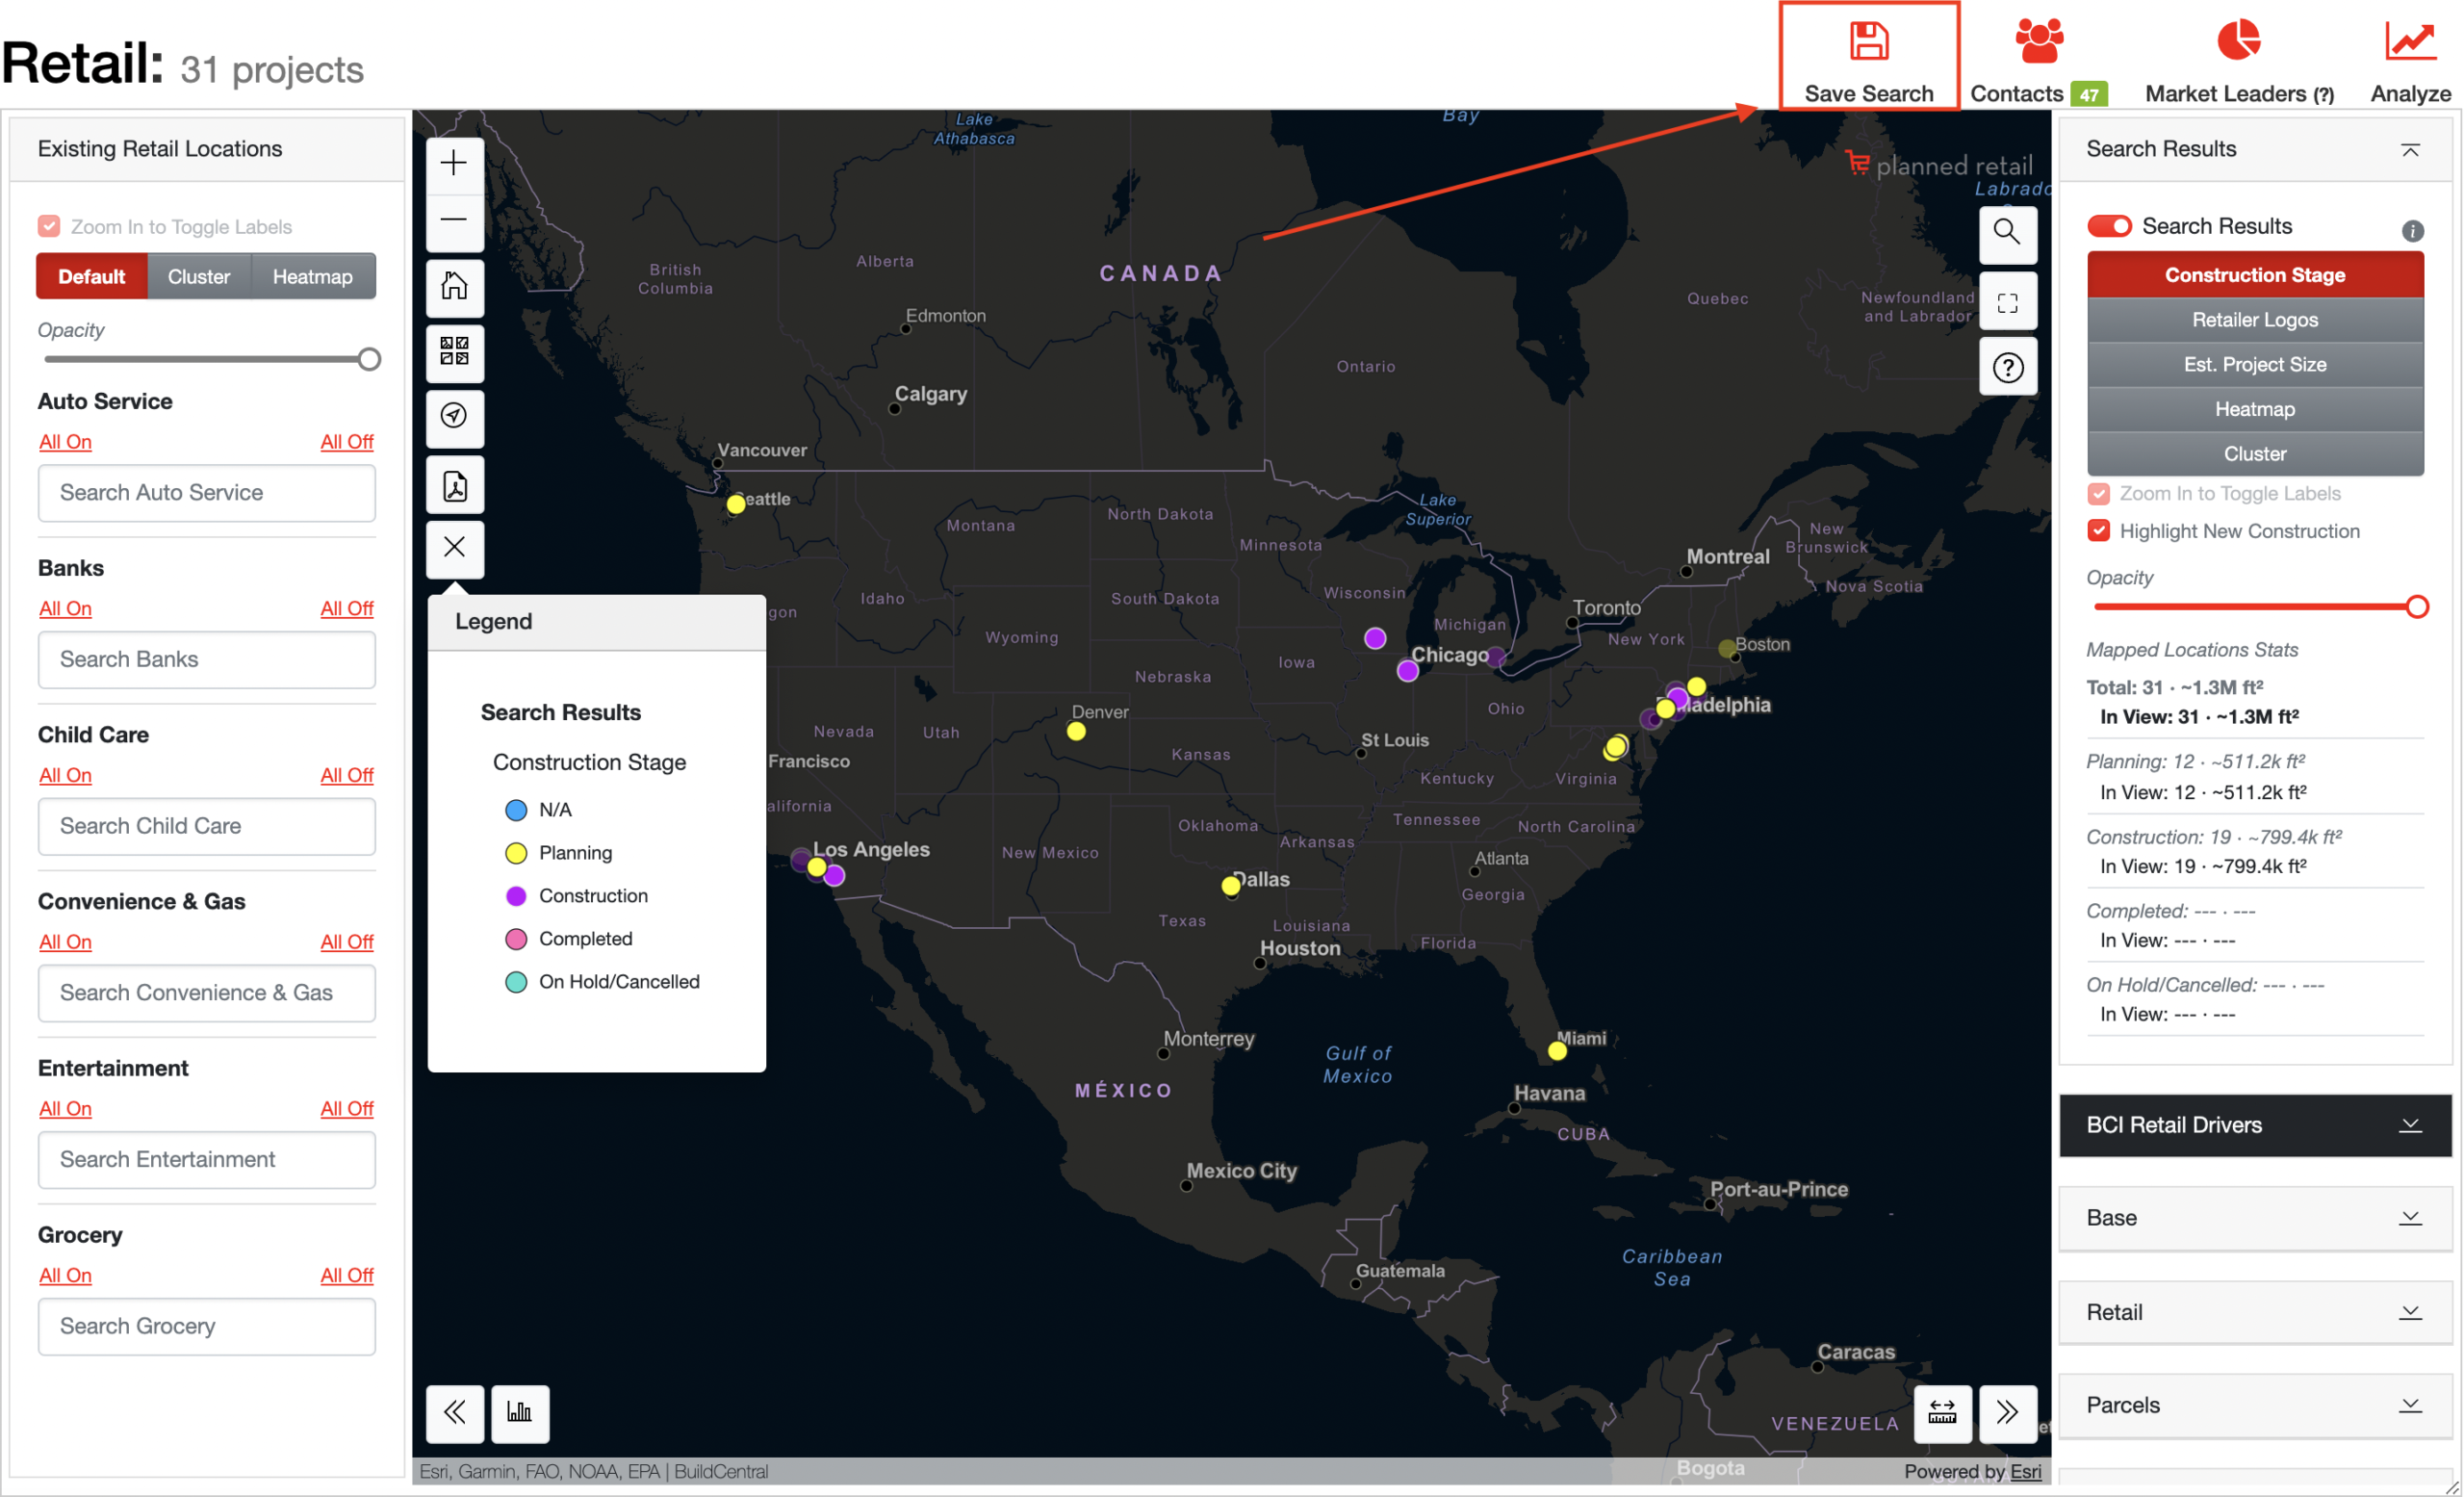
Since we've now got search results, we can refine our search according to our preferences if need be.
Step 5: Don't forget to save
If the search results are satisfactory, then it's time to find and click the Save Search icon.
Once you've clicked on Save Search, a window like the one below should appear. Check its left half to confirm that the search parameters that you want to save are accurate. If they're not, simply re-do the search and return to the Save Search function.
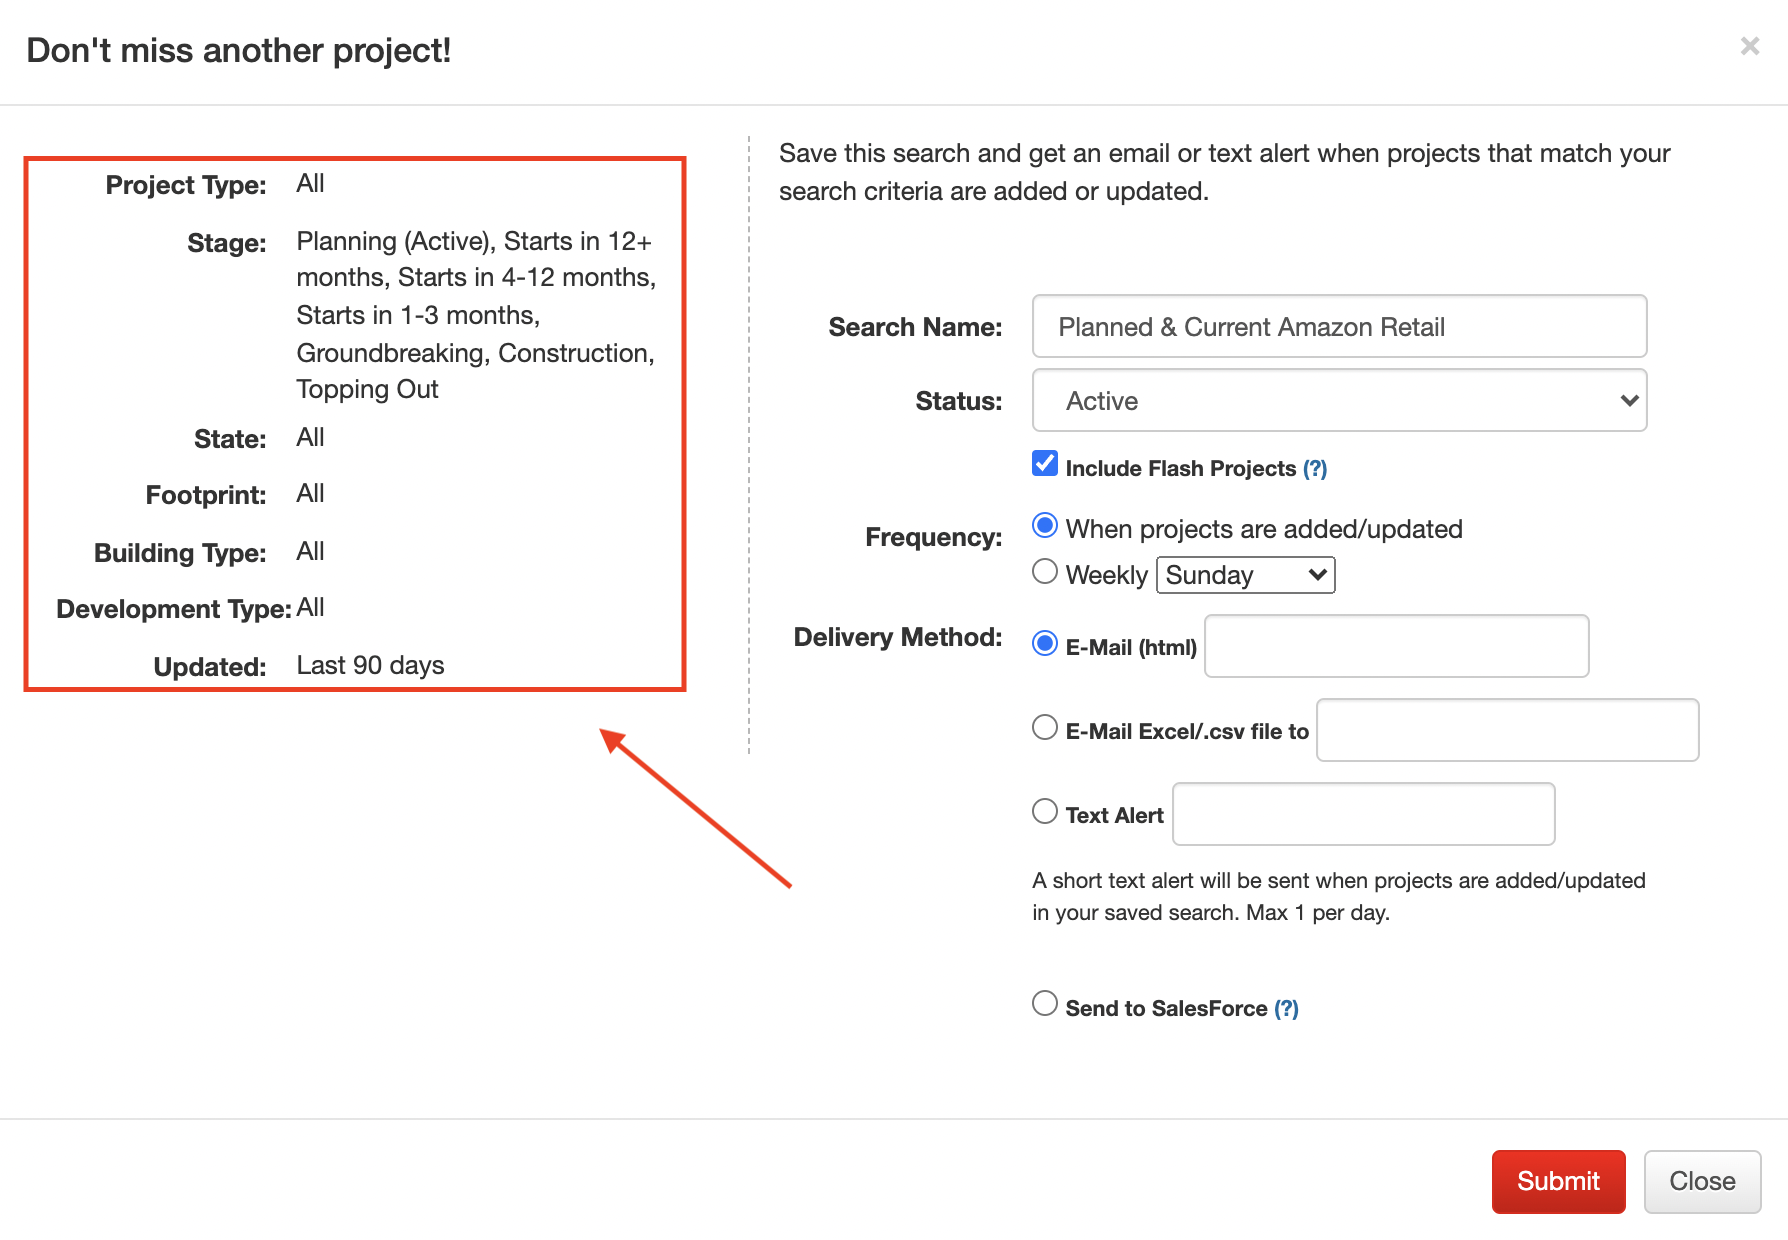
For this Saved Search, we checked the box to Include Flash Projects, just because we still want to be aware of those smaller, faster-moving projects.
Step 6: Set your alert delivery preferences
After verifying that your Saved Search's parameters are correct, turn your attention to the window's right half. Here, you can give your Saved Search a title, which for our search is Planned & Current Amazon Retail. From there, you can customize your Saved Search receipt preferences like Frequency and Delivery Method so that you get project updates when and where you want them. Please note that the Status preference allows you make a search Active or Inactive to receive or stop receiving project updates, respectively.
Once you're done entering the email at which you'd like to receive the update, as well as the file type you want to receive, just click Submit, and you're good to go!
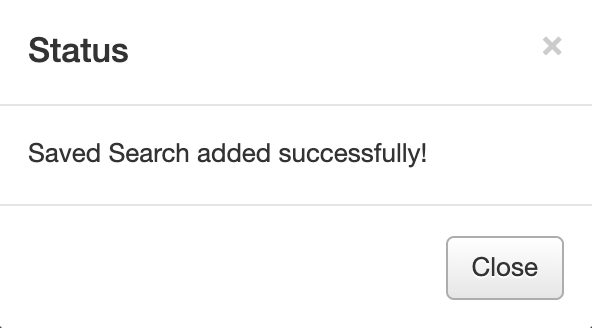
Once you see this message, you can be sure you've completed your Saved Search!
Extra Help: Editing and deactivating a Saved Search
How to edit a Saved Search
Uh-oh! Maybe you went through with a Saved Search and realized some of the filters and parameters were off. No worries, it happens to all of us. The good thing is that you can edit your Saved Search without having to create a new one.
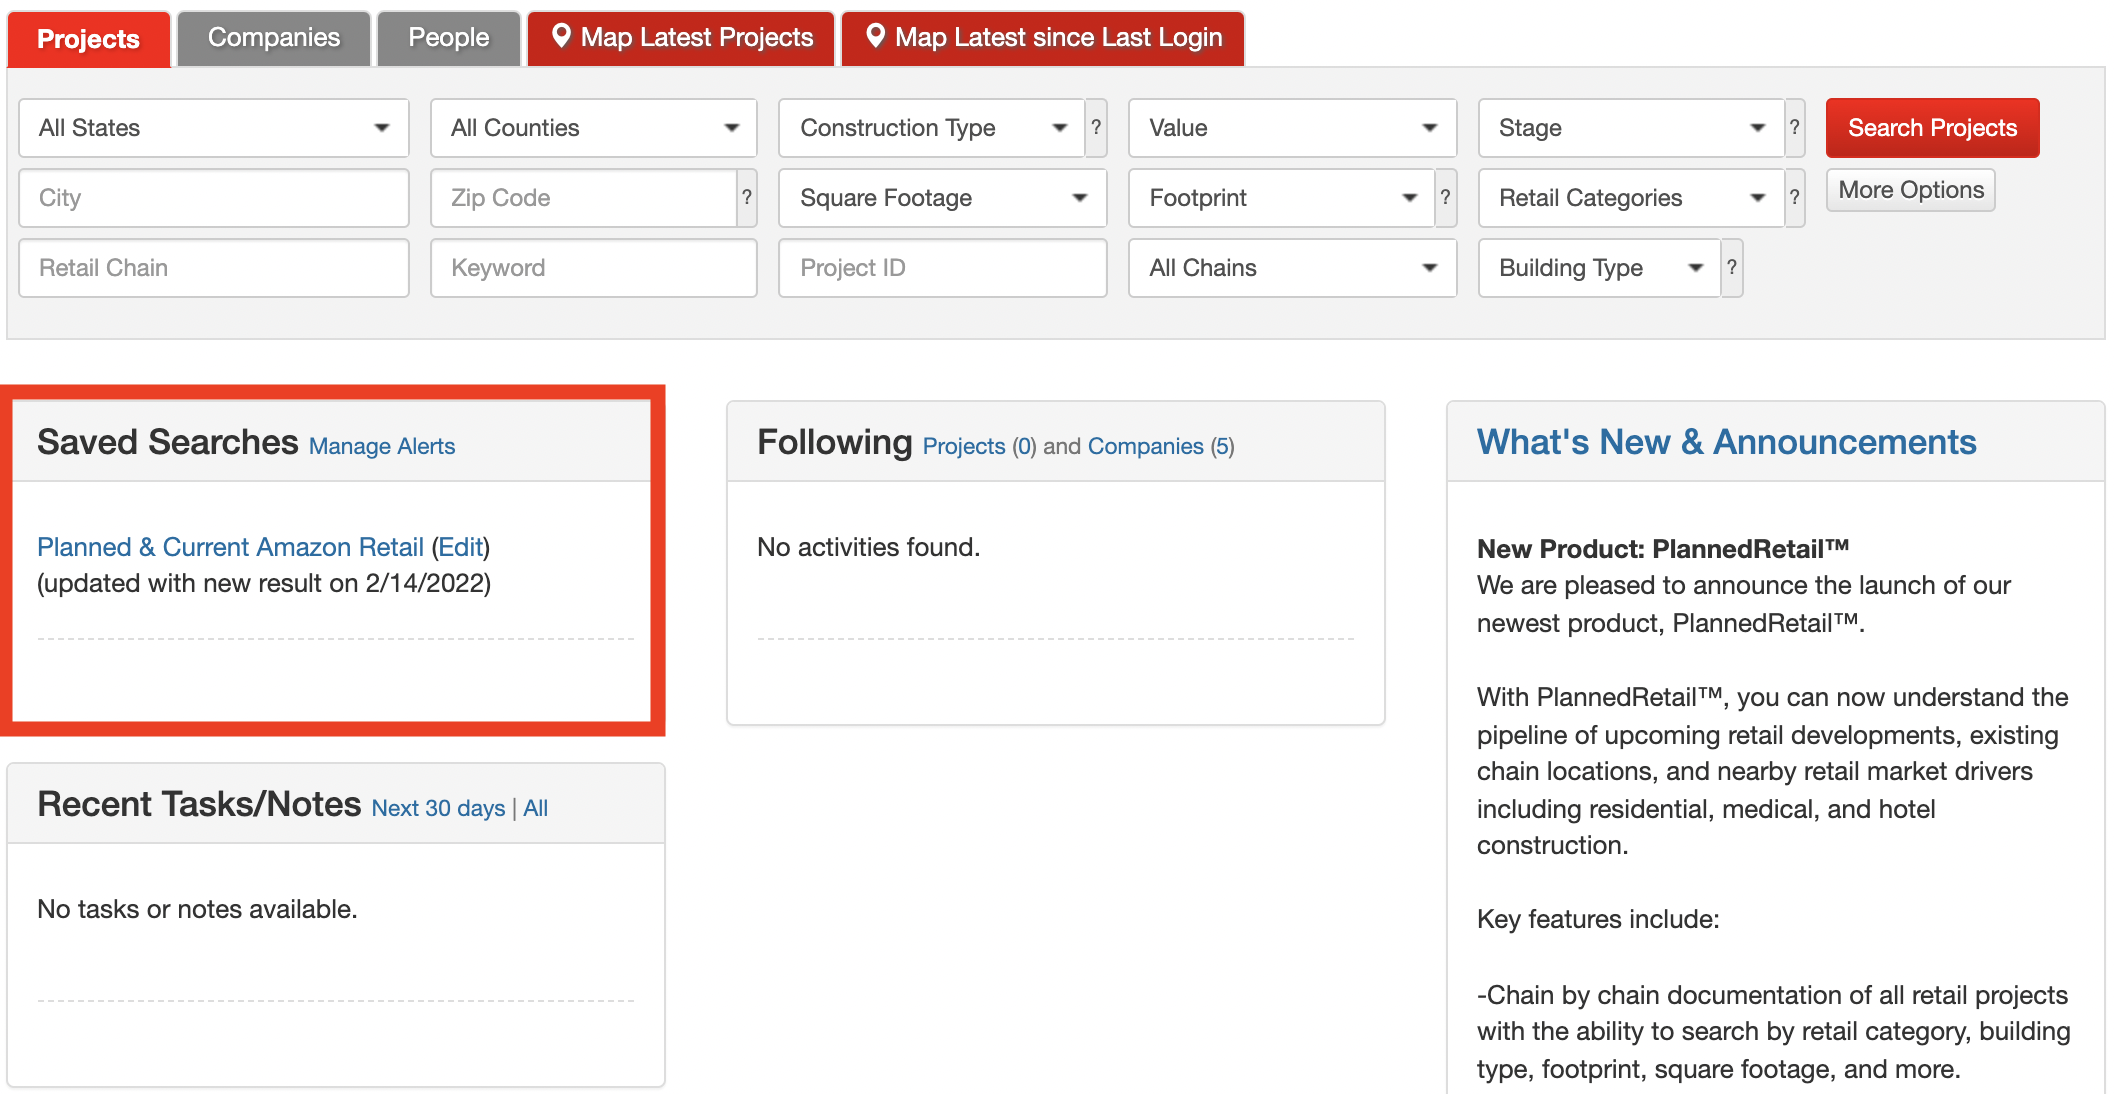
To edit your search, first navigate to the Planned Retail dashboard, following the same steps from the above walkthrough. You should wind up here, where you can click Edit:
From there, adjust as you see fit before clicking Submit.
How to deactivate a Saved Search
In many instances, a Saved Search can only be useful for so long. As such, it's likely there will come a time when you'd like to stop receiving updates for a given Saved Search.
Changing the search so that you no longer receive updates, though, is quite easy, and the best part is that you can deactivate a Saved Search without entirely deleting it!
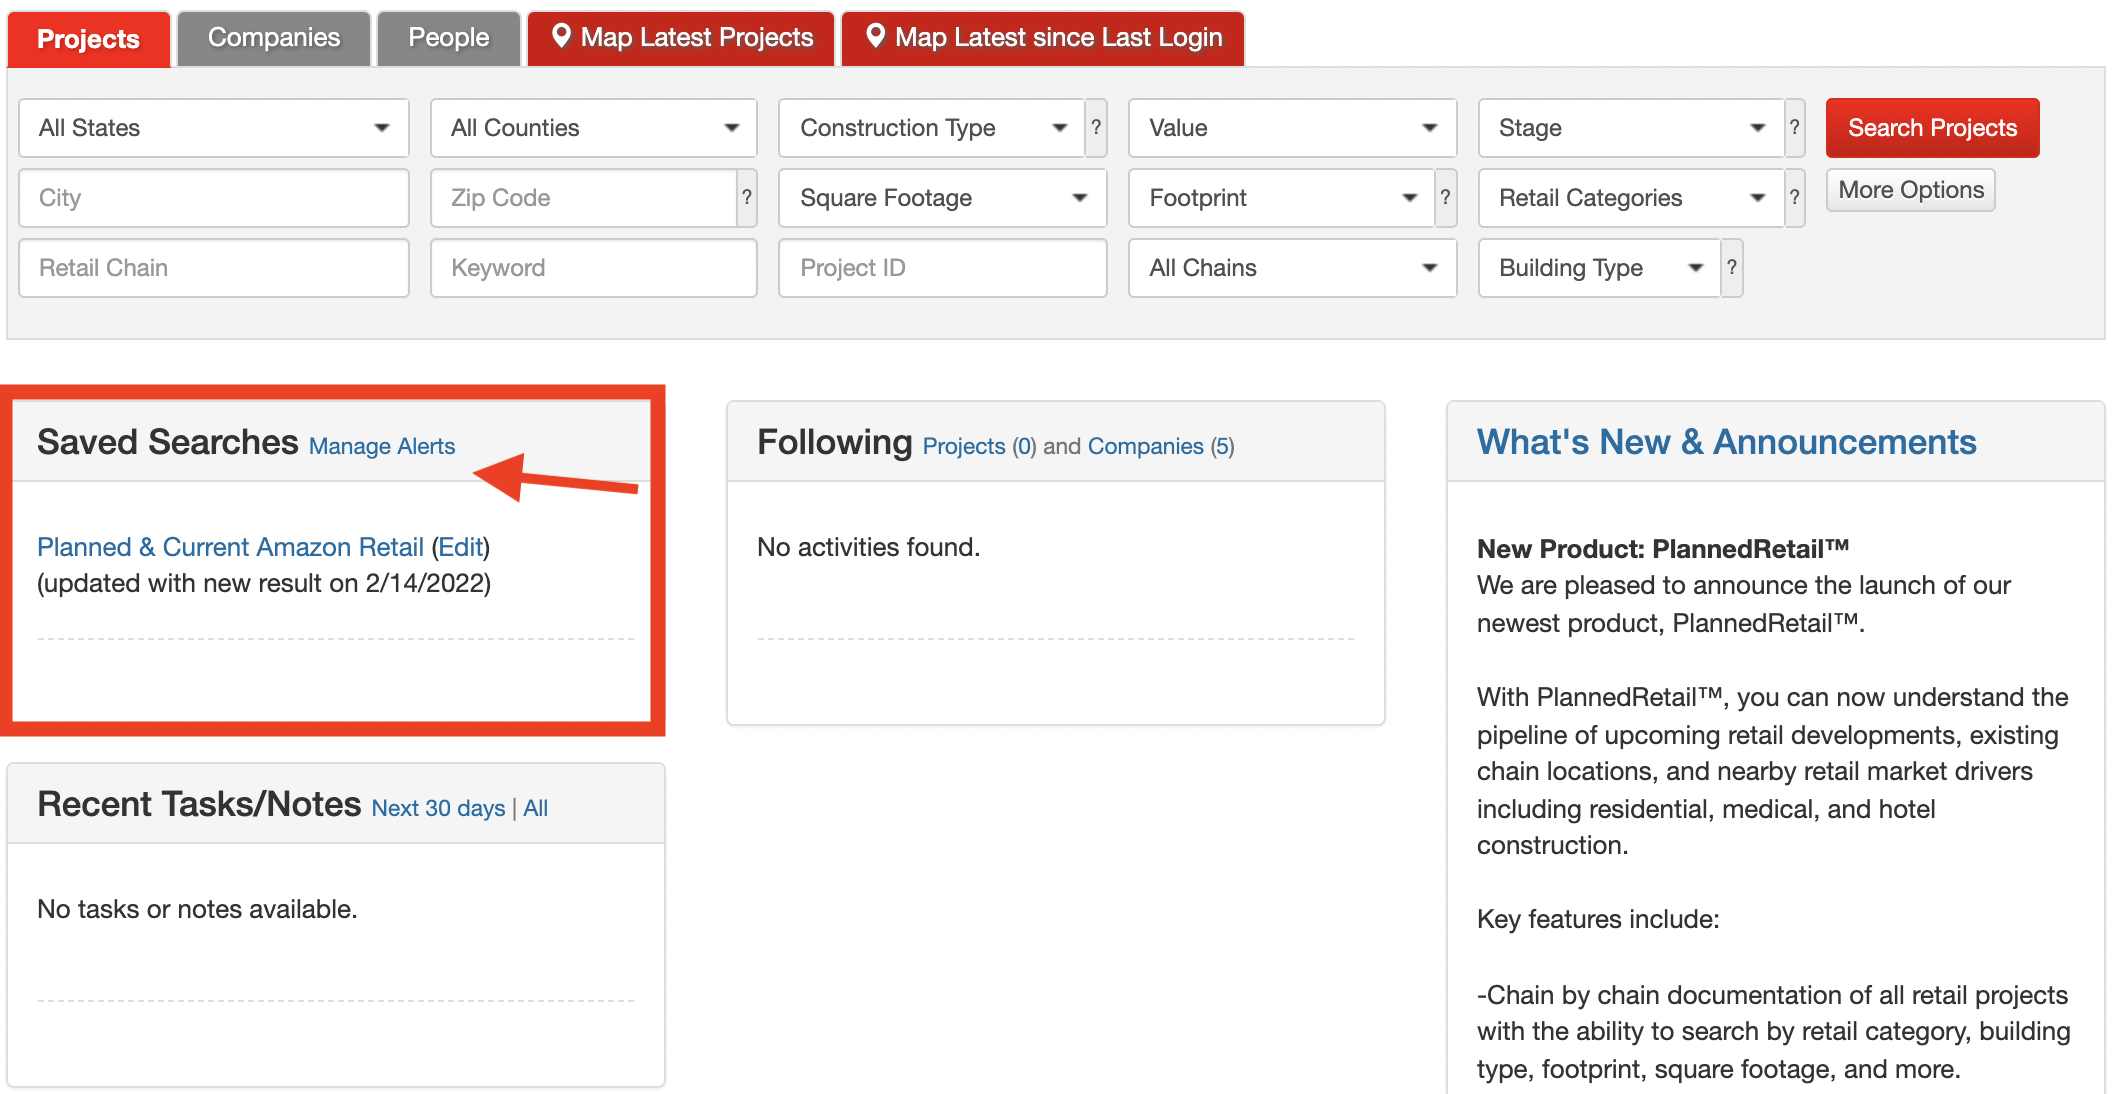
To manage alerts for your Saved Search, first navigate to the Planned Retail dashboard, following the same steps from the above walkthrough. You should wind up here, where you can click Manage Alerts:
After arriving at the Manage Alerts page, you can Turn Off or Edit Saved Search alerts and updates as you please.
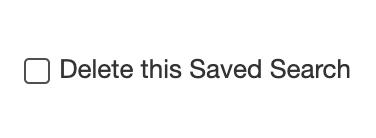
How to delete a Saved Search
When a Saved Search has run its course, you can delete it quite easily. Follow the steps in the above How to edit a Saved Search walkthrough until you've clicked Edit. In the bottom left of the pop-up wind, you should see the below Delete this Saved Search checkbox. Check it, and click Submit. All done!